







The first time I flew alone, I stood in the middle of a terminal for a full minute doing nothing. I had my bag. I had my ticket. I just could not work out which way to walk. Nobody had ever told me that an airport is really just a queue of small steps in a fixed order, and that you only have to solve one step at a time.
In this article
That is the whole idea behind this guide. I want to show you how to navigate the airport from the front door to your seat, in order, in plain words. Airports feel confusing because you have to do several things in the right sequence, often while watching a clock.
This guide is also written for anyone flying on separate tickets. If you booked a self-transfer trip, you may need to leave one part of the airport, pick up your bag, and check in all over again. I will cover that in detail, because it is the part most people get wrong.
Key takeaways
Go to the Departures level and check the screens. Arrive early, check the screens for your flight, then go to check-in or bag drop if you have a bag to hand over.
Clear security, then walk to your gate. Keep watching the screens in case the gate number changes.
Board when your boarding group is called. This is usually well before the plane pushes back.
A self-transfer changes the order. You may have to collect your checked bag, leave the secure area, and check in again for your next flight. Build in extra time for that.
Before You Arrive: Prepare for a Smoother Airport Experience

Almost every airport panic I have seen started at home, not at the airport. Ten minutes of prep the night before removes most of it.
Find flights for this trip

Here is what I do every single time:
- Check in online. Most airlines open online check-in 24 to 48 hours before departure, and some low-cost carriers charge a fee if you check in at the counter instead.
- Get your boarding pass. Save it in the airline app, add it to your phone wallet, and take a screenshot as a backup.
- Check your ID or passport. Look at the expiry date. Some countries require at least six months of validity remaining.
- Check visa and entry rules for your final destination, and for any country you land in on the way, even if you never leave the airport.
- Read the baggage rules. Size, weight, and how many carry-on bags you are allowed. Budget airlines are strict about this and measure at the gate. Our guide to international carry-on size rules lists the limits airline by airline.
- Find your airport terminal. More on this below.
- Decide your arrival time. I aim for two hours before domestic flights and three hours before international flights. During busy periods, US airports have asked travelers to arrive even earlier, so check what your airport is advising that week.
This matters more on cheap, multi-airline trips. When your two flights are on different airlines, they may not use the same building, check-in hall, or even check-in deadline. Knowing that before you leave home is the difference between a calm morning and a sprint. If you are still choosing a route, compare cheap flights with the airport layout in mind, not just the price.
Check Your Terminal, Airline, and Flight Number
Your terminal is on your booking confirmation, in the airline app, and on the airport’s own website. Of those three, I trust the airport website most on the day of travel, because airports move airlines between buildings more often than people expect.
Three details do all the work at the airport:
- Airline name
- Flight number, such as FR1234 or LH992
- Destination city
Every departure board in the world is sorted by those. Learn your flight number by heart. It is the fastest way to find your flight on a screen full of thirty other cities, and it is the first thing staff will ask you for. Most airlines also show live flight status in their app, so turn on notifications.
Download or Print Key Travel Documents
Keep these five things in one place, ideally one zipped pocket:
- Your boarding pass, digital or paper
- Passport or ID card
- Visa or entry permit, if you need one
- Travel insurance details
- Booking confirmation with your reference number
A digital boarding pass is fine at most airports now. A printed boarding pass is still useful in two situations: a dead phone battery, and a small airport with weak signal. I once watched someone at Bergamo miss their boarding time because their pass would not load and the wifi was jammed. Take a screenshot. It loads with no data.
Also write your name and phone number on a luggage tag and put a second copy inside the bag. If all the luggage on the belt looks the same, and it usually does, a bright tag saves you three minutes of guessing.
Step 1: Enter the Airport and Find the Departure Area
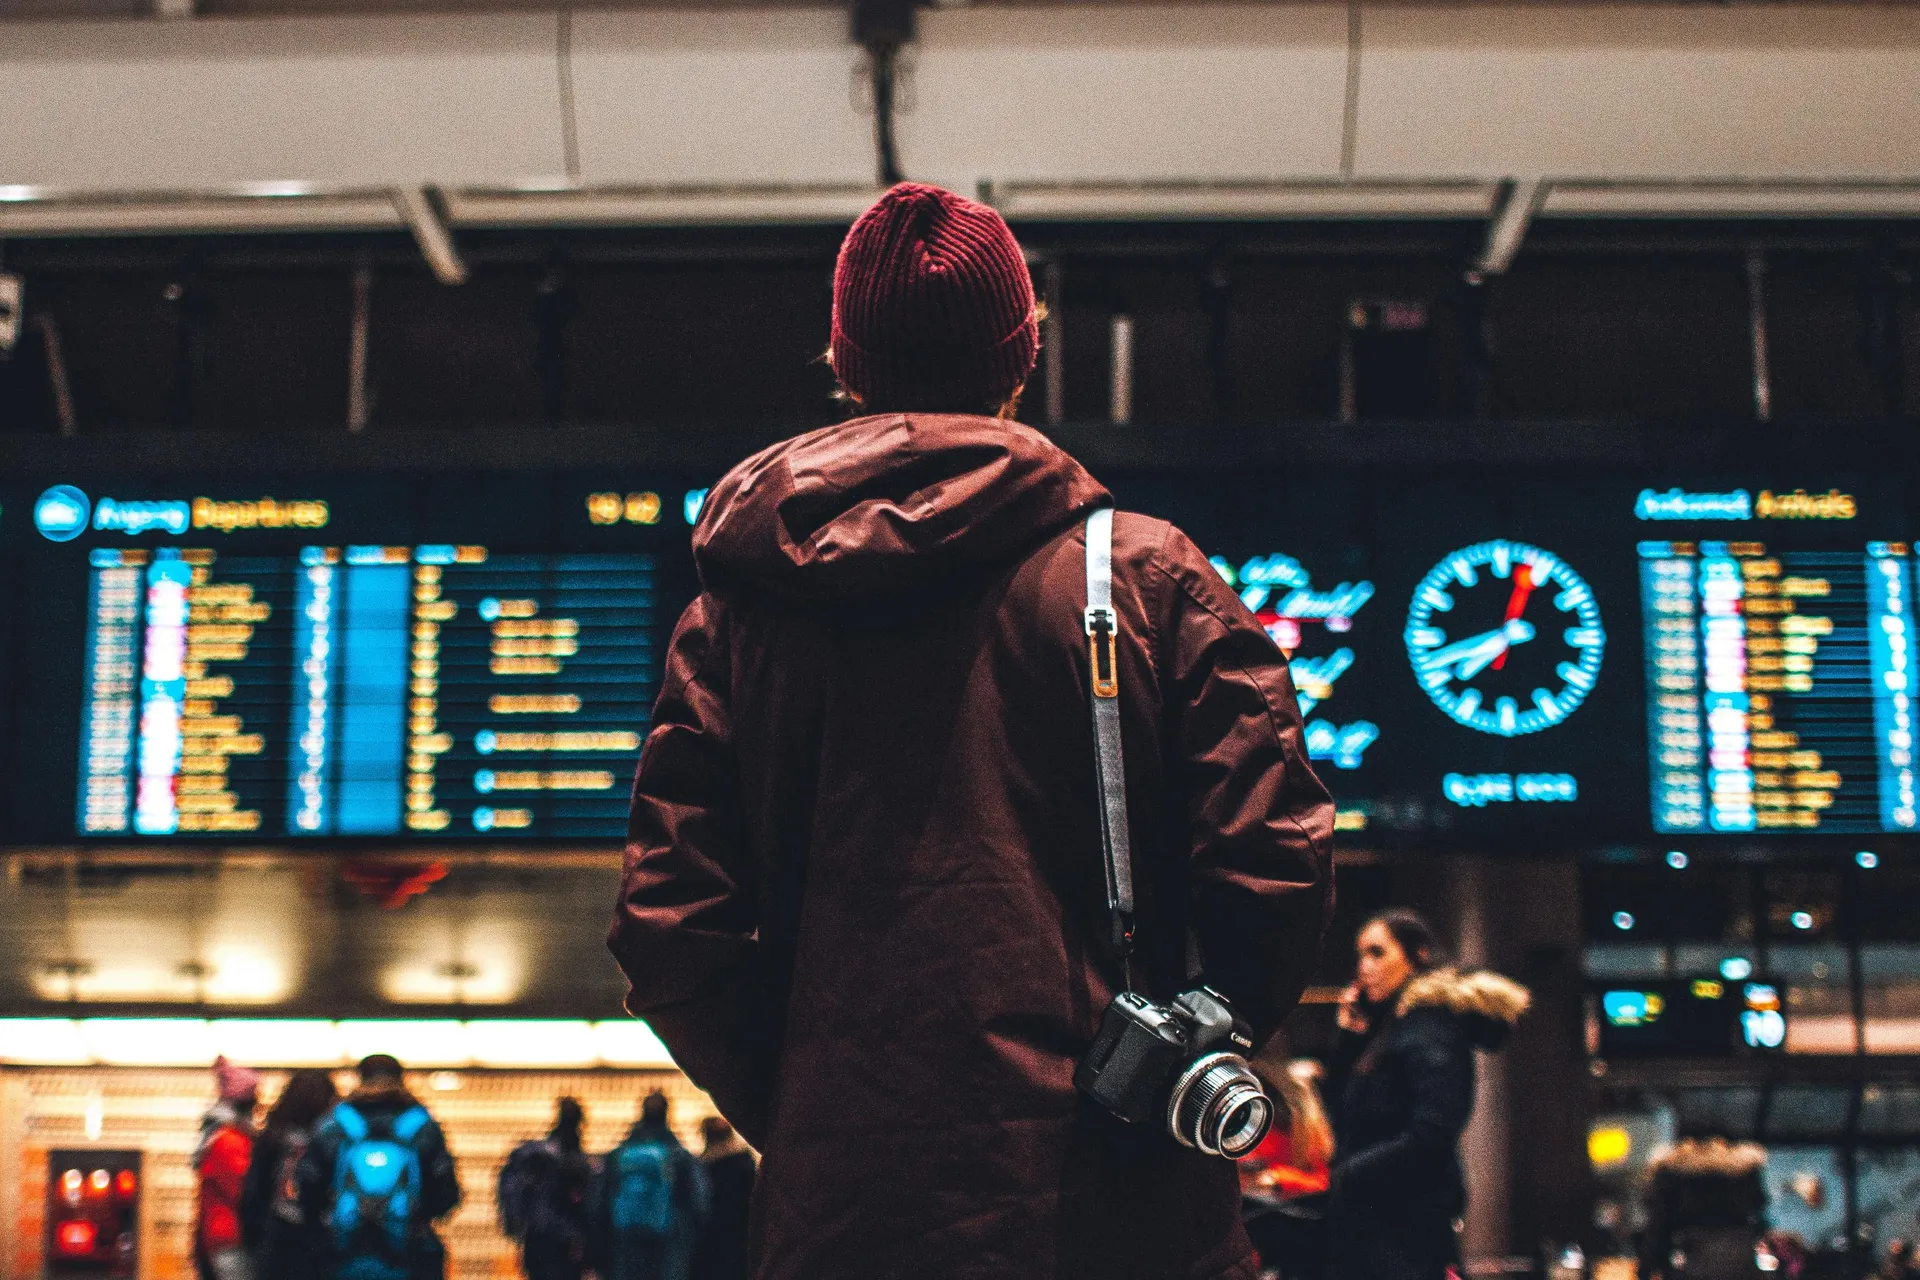
Most airports split arrivals and departures. Sometimes they are on different floors, sometimes at different ends of the building, and at drive-up airports they are two separate roads. Look up as soon as you walk in and follow the signs for Departures.
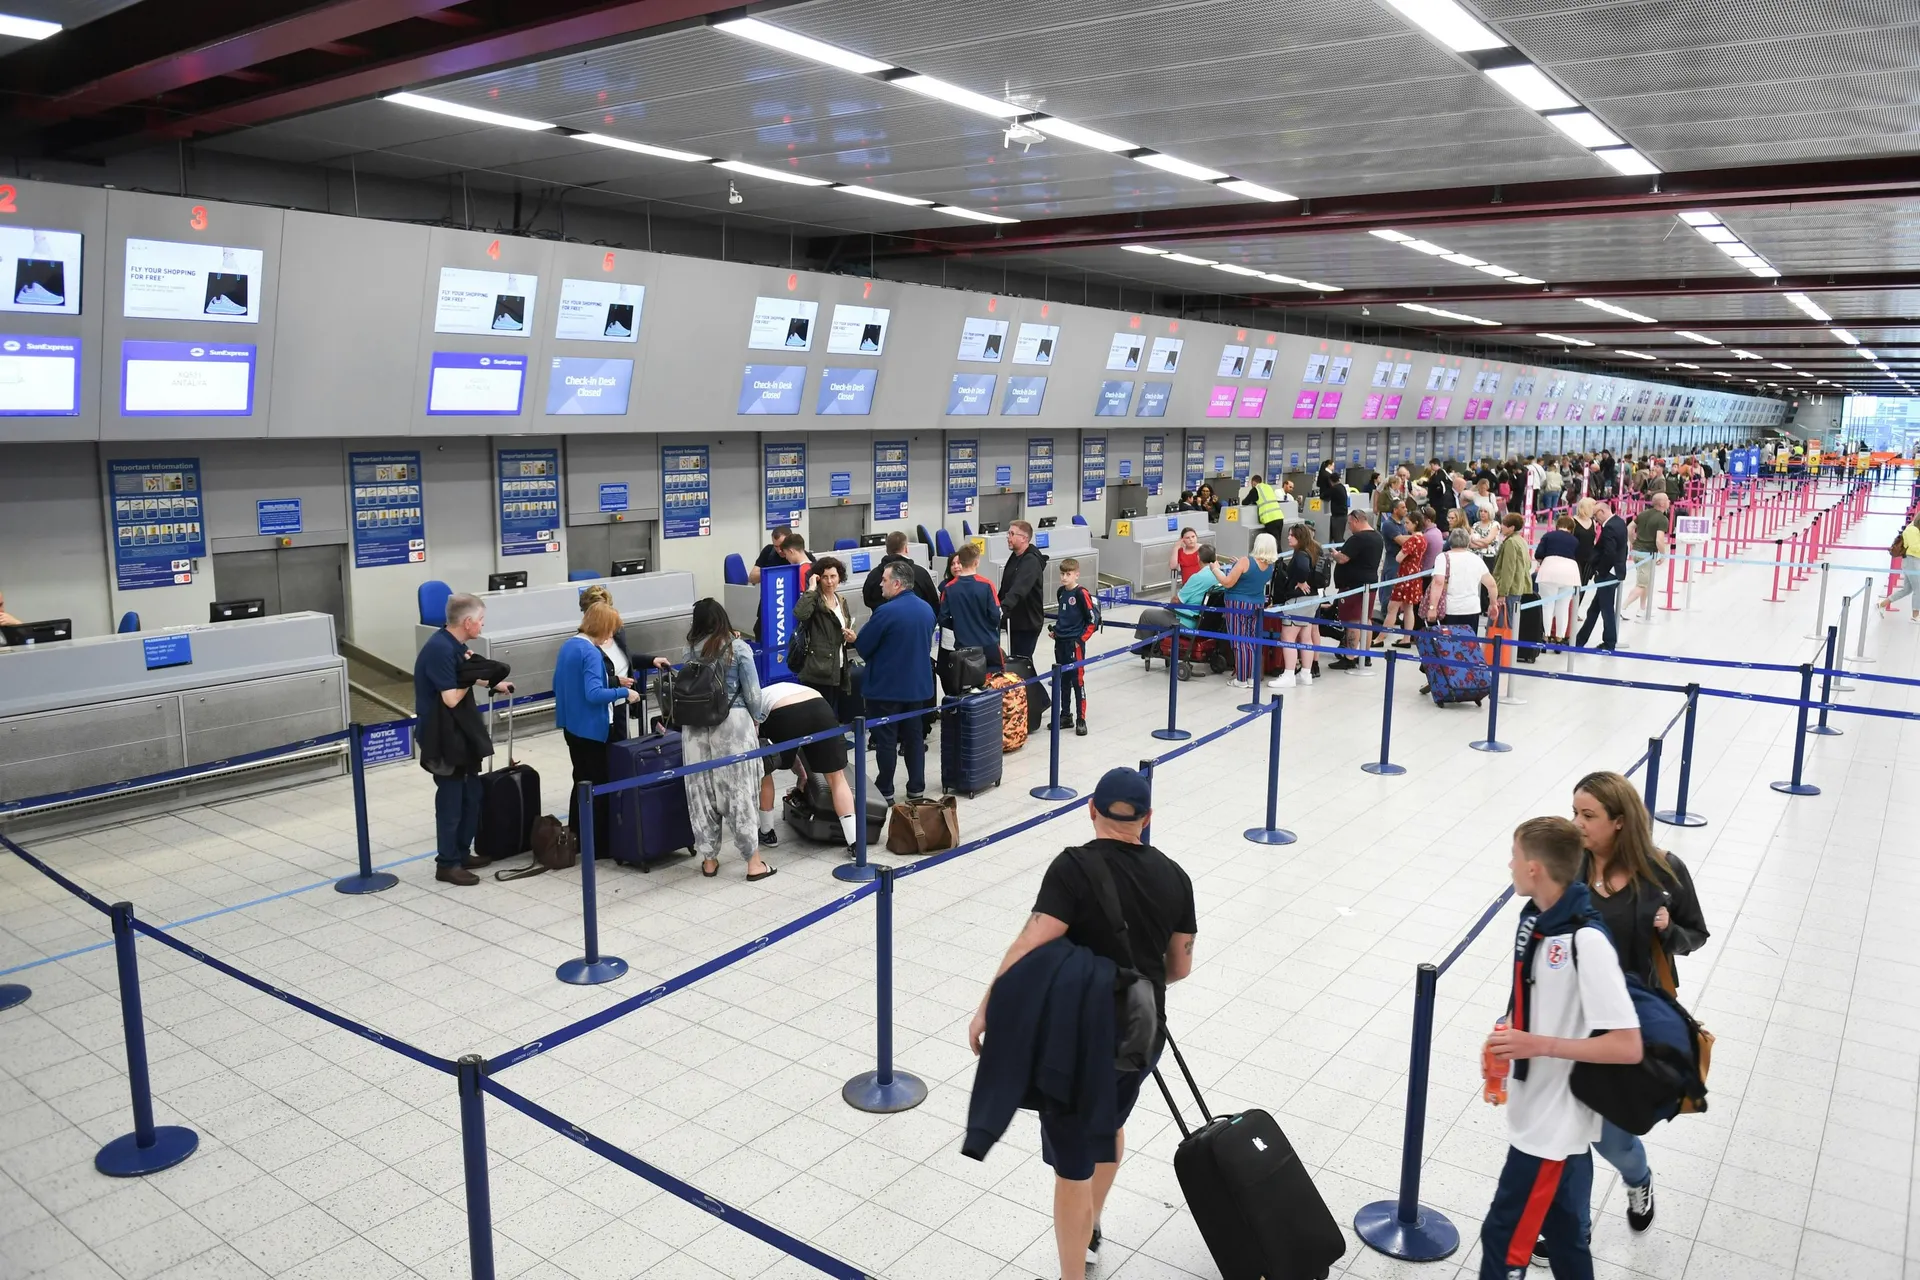
Once you are in the departures hall, look for two things: a bank of screens showing flights, and signs showing which check-in zone belongs to your airline. Zones are usually letters or numbers, like Zone C or Desks 40 to 55. Match your airline, walk to that zone, done.
Airport signs are boring on purpose. They are designed so a tired person who does not speak the local language can still get to the plane. Trust them more than your memory of the last time you flew.
How to Read Airport Signs
These are the words you will see, and what they actually mean:
| Sign | What it means |
|---|---|
| Departures | Flights leaving. This is where you start. |
| Arrivals | Flights landing. Where you meet people, not where you check in. |
| Check-in | Airline desks where you get a boarding pass and hand over bags. |
| Bag Drop | Drop your checked bag when you already have a boarding pass. |
| Security | The screening point for you and your cabin bag. |
| Gates | The waiting areas where you board. Usually numbered. |
| Transfers or Connections | The route for passengers changing planes without leaving the secure area. |
| Baggage Claim or Baggage Reclaim | Where checked bags come out after you land. |
| Passport Control or Immigration | Where officers check your passport and visa. |
| Customs | Where you declare goods. Green and red channels. |
| Exit or Way Out | Out of the airport. Do not walk through this by accident during a connection. |
In an unfamiliar airport, follow the icons rather than the words. The little suitcase icon means baggage. The little plane taking off means departures. The passport booklet icon means passport control. Many airports put those icons on yellow signs, and yellow almost always means “you are still going somewhere”. White or blue signs usually mean services like toilets, food, and shops.
What to Do If You Are at the Wrong Terminal
It happens. Don’t panic, but move immediately, because at larger airports this is the single biggest time sink in the building.
- Find the nearest screen and confirm your terminal against your flight number.
- Look for signs directing you to Terminal Transfer, Inter-Terminal Train, or Shuttle Bus.
- If you can’t find a sign within 30 seconds, ask any staff member in uniform.
Airports with multiple terminals usually connect them with a free mini train or a shuttle bus. Atlanta has the Plane Train. Frankfurt has the Sky Line . Paris Charles de Gaulle has the CDGVAL. London Heathrow connects Terminals 2 and 3 on foot in about ten minutes. To get to Terminal 4 or 5, you take a train. Heathrow guidance suggests allowing around an hour between terminals, once you add walking, waiting, and re-screening.
That is the warning. A terminal change is not a five-minute hop. Treat it as an hour of your life unless the airport tells you otherwise.
Step 2: Check In and Drop Off Your Bags
This step can go four ways, and which one applies to you depends entirely on your bags.
- Online check-in. Done at home. You already have a boarding pass.
- Check-in desk. A staffed counter. Slowest, but the only option for some tickets and some document checks.
- Self-service kiosk. A touchscreen where you print your boarding pass and bag tag.
- Bag drop. A short queue where you hand over an already-tagged bag.
If you are traveling with carry-on items only and you already have your pass, you can skip this whole step. If you have checked luggage, also called hold luggage, you must hand it over before security. There is no way around that.
One thing I learned the hard way: bag drop desks close earlier than the flight. Many airlines close baggage acceptance 40 to 60 minutes before departure, even if boarding hasn’t started. I have seen people arrive 50 minutes before their flight departs, with plenty of time to reach the gate, and still lose the flight because the bag counter had closed. To save time and reduce risk, travel with one small bag that fits under the seat. If your bag is over the limit, know the rules first: our guide to excess baggage fees and how to avoid them is written for exactly that moment.
When You Can Go Straight to Security
You can normally head straight to the security check if all three of these are true:
- You completed online check-in
- You have a valid boarding pass, on your phone or printed
- You have no bag to check and no document check to complete at the desk
That is the fastest possible version of an airport. Door to gate in twenty minutes, once you know the building. Airport security is then your only queue.
When You Need to Visit the Airline Counter
Go to the check-in desk if any of these apply:
- You have checked bags and no printed bag tag
- You are flying somewhere that needs a visa or a document check
- You are carrying a bike, skis, a musical instrument, or anything oversized
- You are traveling with a pet
- Online check-in failed, or your name or passport details need fixing
- You are asking about a seat change, an infant, or special assistance
Ground staff at the counter can also tell you which gate area to aim for and roughly how long security is running that morning. Worth asking.
Step 3: Go Through Airport Security
The security checkpoint is where you and your cabin bag get screened before you are allowed into the gate area. It is the part people dread and, in my experience, the part that goes fastest once you know the routine. Two rules trip people up most: the liquid limits and what food you can carry through, which our airport snack guide covers in detail.
Here is what usually happens, step by step:
- A staff member or a gate scanner checks your boarding pass, and sometimes your ID.
- You collect one or two plastic bins from the stack.
- You put your carry-on bag, jacket, belt, and pocket contents into the bins.
- You take out large electronic devices such as laptops and tablets, and your bag of liquids, unless the signs at that lane say otherwise.
- Your bins go into the X-ray machine.
- You walk through a metal detector or a body scanner.
- A TSA officer, or the local equivalent, may pat you down or swab your hands. This is routine and not a sign that anything is wrong. If a TSA agent asks to open your bag, they will do it in front of you.
- You collect everything and step aside to repack. Do not repack in the flow of traffic.
A few facts worth knowing if you are flying in the United States. The TSA’s 3-1-1 rule still applies nationwide in 2026: liquids, gels, aerosols, creams, and pastes in containers of 3.4 ounces (100 milliliters) or less, all inside one quart-sized clear resealable bag, one bag per passenger. Medication, breast milk, and baby formula are exempt. Newer CT scanners at some checkpoints let you leave liquids and laptops in your bag, which is faster, but the size limits haven’t changed. Pack for the strict version and enjoy the fast lane when you get it.
The shoes rule did change. In July 2025, the TSA ended its long-standing shoes-off requirement at US airports, so most travelers now keep their shoes on. Outside the US, rules vary by country, so watch the signs and copy what the person in front of you is doing.
Prohibited items are the other thing to get right before you leave home. Sharp objects such as box cutters, utility knives, and razor blades are not allowed in cabin bags, though razor blades sealed in a shaving cartridge are fine. Every country publishes its own list of prohibited or restricted items, and a TSA rule is not a European rule. Check the official page for the airport you are flying from, not a blog, and not this article.
How to Prepare for the Security Line
The airport security line rewards people who packed for it. Before you reach the trays:
- Take your liquids bag out and hold it
- Empty your pockets into your jacket or bag while you queue
- Loosen your belt and take off your watch
- Keep your laptop at the top of your bag, not under your clothes
- Have your boarding pass ready in your hand, not buried in an app you have to reopen
If you are travelling with small children, tell staff. Families are usually allowed to keep shoes on, keep formula and milk, and use a family lane at bigger airports. A lounge membership such as a Priority Pass will not speed up security screening. Fast Track or TSA PreCheck will. On a busy morning, that is often cheap enough to be worth it.
A reminder rather than a rule: procedures differ by country, by airport, and sometimes by lane in the same terminal. Read the signs at your lane. They are the actual instruction.
What Happens After Security
Once you are through, you are in the airside area. Everything from this point is behind the security line, which is why nothing here can be reached from the arrivals hall.
Airside is where you will find your departure gate, plus toilets, food, shops, water fountains, charging points, and the departure lounge if you have access to one. It is also where the biggest departure screens live. My habit is simple: as soon as I clear security, I find a screen, check my gate, and walk in that direction before I buy coffee. Coffee near your gate tastes the same as coffee twenty minutes away from it. Airport navigation is mostly about doing the next step before you relax, not after.
Step 4: Find Your Gate and Watch for Changes
Departure screens are sorted by departure time, and they list the airline, flight number, destination, status, and gate. Find your row using your flight number, then note two things: the gate, and the status.
Then keep checking. Gates change. I have had a gate move twice in Barcelona in the space of forty minutes, and both times the only warning was the screen and an app notification. Airlines usually assign the gate 30 to 90 minutes before departure, so an empty gate column is normal early on. It is not a problem, it just means you wait near the screens instead of committing to a corner of the terminal.
Once you know your boarding gate, walk there and check the walking time on the way. Signs airside show gate ranges and, in big terminals, the walking minutes to each pier. Some gates at Frankfurt, Madrid, and Dubai are a genuine fifteen to twenty minute walk from the main hall, plus a train.
 travel-hacks
Frankfurt Airport (FRA) Guide: Terminals, Parking, Lounges, and Everything Else You Need to Know
Your complete guide to Frankfurt Airport (FRA): terminals, parking, lounges, security, the new EES system, hotels, and how to find cheap flights to Frankfurt.
Read the guide
travel-hacks
Frankfurt Airport (FRA) Guide: Terminals, Parking, Lounges, and Everything Else You Need to Know
Your complete guide to Frankfurt Airport (FRA): terminals, parking, lounges, security, the new EES system, hotels, and how to find cheap flights to Frankfurt.
Read the guideHow to Read Departure Screens
| Status | What to do |
|---|---|
| On Time | Nothing yet. Keep an eye on it. |
| Gate Open | You can go to the gate and wait there. |
| Boarding | Go now. Boarding has started. |
| Final Call | Move fast. The gate is about to close. |
| Gate Closed | The flight has stopped accepting passengers. Go to the airline desk. |
| Delayed | Check the new time and stay near the screens. |
| Cancelled | Go to your airline’s desk or open the app and start rebooking. |
The single most useful thing to understand about screens: boarding time is not departure time. Boarding is earlier, usually by 30 to 45 minutes, and the gate can close 15 to 20 minutes before the plane leaves. The time printed largest on your boarding pass is often the boarding time, not the take-off. When people say “I got there before my flight and they would not let me on”, this is almost always what happened.
How Early Should You Be at the Gate?
Be at the gate before boarding starts, not before departure. That is the whole rule.
In practice, boarding often begins 30 to 60 minutes before departure, and it varies with aircraft size, airport, airline, and whether the flight is domestic or long-haul. A small low-cost jet from a single gate boards differently from a widebody with five zones. Check your airline’s own page or app for your specific flight time rather than trusting a general number, including this one.
My own rule after a few close calls: be at the gate 45 minutes before departure for a short flight, and an hour for a long one. If the gate is a train ride away, add fifteen minutes.
Step 5: Board the Plane Without Confusion
Boarding looks chaotic and is actually quite ordered. Airlines board in groups, printed on your pass as a number, a letter, or a zone. Priority boarding, families, and passengers needing assistance usually go first, then the groups in sequence.
Here is how I handle it:
- Sit or stand within sight of the gate, not at the far end of the pier.
- Listen for announcements and watch the gate screen, which shows the group being called.
- Do not join the queue until your group is called. Standing for twenty minutes gains you nothing on a flight with assigned seats.
- Have your boarding pass and ID out before you reach the scanner.
- Scan your pass, walk down the jet bridge or to the bus, and find your seat number. Rows are numbered from the front, and letters go across, so 14C is row 14, seat C.
- Stow your bag, sit down, and let the flight attendant know if anything is wrong with your seat rather than sorting it yourself mid-aisle.
If you have a digital boarding pass, turn your screen brightness all the way up before you scan. Dim screens fail on gate scanners constantly, and the queue behind you notices.
What the Gate Agent Checks
The gate agent is doing a short list of checks, calmly and quickly:
- Your boarding pass, scanned against the passenger list
- Your ID or passport, and sometimes your visa, mostly on international departures
- Your cabin bag size, in the metal sizer next to the desk
- Any travel documents the destination country requires
If your bag does not fit the sizer, you may be asked to put it in the hold, sometimes for a fee. That is the moment budget flying gets expensive, so pack to the size on your ticket and not to the size you got away with last time. If something is missing or unclear, the gate agent is the person who can fix it. They would much rather solve it at the desk than at the aircraft door.
How to Navigate the Airport During a Connection
This is where navigating airports gets genuinely different, and where the type of ticket you bought matters more than the airport you are in.
There are two kinds of connection:
- A standard connecting flight. Both flights are on one booking with cooperating airlines. Your bag is usually tagged through to your final destination, and you stay inside the secure area.
- A self-transfer. Your flights are separate tickets, often on airlines that do not work together. You are the one moving yourself and your bag between them .
Self-transfer is how a lot of cheap routes exist at all. Kiwi.com ’s Virtual Interlining builds itineraries by combining flights from airlines that do not interline traditionally, which opens up routes and prices you will not find as a single ticket. The trade-off is that the connection is yours to manage. Kiwi.com is straightforward about that. On self-transfer bookings, your connections are not covered by the carriers. That is exactly why the Kiwi.com Guarantee exists, to protect you if a delay breaks the chain.
Know which of the two you have before you land. It changes every sign you follow.
Standard Connection: Follow Transfer Signs
If your flights are on one connected booking, this is usually easy. After you land:
- Leave the plane and look up for Transfers or Connecting Flights. Ignore signs for Exit and Baggage Claim.
- Follow the transfer signs to the transfer area.
- Check a screen for your next gate, using your next flight number.
- Pass through extra security screening if the airport requires it, which many do for arrivals from outside their security zone.
- Pass through passport control if you are entering a new immigration area, for example arriving into the Schengen zone and flying onward within it.
- Walk to your gate.
Your checked bag is normally handled for you. If you are unsure whether it was tagged all the way through, ask at the transfer desk rather than guessing.
Self-Transfer: Exit, Collect Bags, and Check In Again
On separate tickets, treat your connection as two trips that happen to be in the same building. Kiwi.com ’s own help pages spell out the sequence, and it is worth following exactly:
- Land and follow signs to Arrivals, not Transfers.
- Clear passport control if the country requires it. On a self-transfer you often enter the country officially, even if you never leave the airport, so you may need a transit or entry visa.
- Go to baggage claim and find the luggage carousel listed for your arriving flight. The screens above each baggage carousel show flight numbers.
- Collect your checked baggage. Nobody moves it for you.
- Clear customs through the green or red channel.
- Exit into the arrivals hall, then follow signs to Departures. This may mean a different floor, a different building, or a shuttle.
- Check in again for your next flight, online if the airline allows it, or at the desk or self service kiosk if not.
- Drop your bag at bag drop or the counter.
- Clear security again, with all the liquid and electronics rules applying a second time.
- Find your new gate on the screens and walk there.
That is ten steps, and each one has a queue attached to it. This is the honest reason self-transfer connections need real buffer time rather than optimistic buffer time.
If your first flight is delayed enough to break the connection, do not improvise at the desk. Contact your booking provider first. On a Kiwi.com booking, the Kiwi.com Guarantee is what rebooks you onto the next available option, or refunds you. The airline of the second flight has no obligation to help with a ticket it did not sell. If you do end up needing a fast replacement, last minute flights are the fallback, but the Guarantee should be your first call.
How Much Time Do You Need for a Self-Transfer?
There is no single number, and anyone who gives you one has not seen enough airports. Kiwi.com ’s own guidance is a useful starting range: roughly 1 to 3 hours for a domestic self-transfer and 2 to 6 hours for an international one, with more for checked bags.
Rather than memorising a number, score your connection. Every “yes” below makes it riskier:
- Do you have checked bags to collect and re-check?
- Does the transfer country require passport control, or a transit visa?
- Is there a terminal change, especially one needing a train or bus?
- Is the airport one of the big, spread-out ones where gates are twenty minutes apart?
- Is it a peak travel day, a holiday weekend, or a known thunderstorm season?
- Does your second airline close bag drop 60 minutes before departure?
- Is the first flight on a low-cost carrier with a tight turnaround schedule?
One “yes” is manageable. Four is a connection I would not book. If you are in the 90-minute range on an international self-transfer with a bag, that is not a buffer, it is a bet. I would rather leave the airport , sleep, and fly the next morning than run that.
What to Do If You Get Lost at the Airport
I still get turned around in airports, and I fly a lot. Getting lost is normal and it is fixable in about two minutes.
Do this, in order:
- Stop walking. Walking while confused is how people end up on the wrong pier.
- Find the nearest screen or airport map. Every concourse has both.
- Confirm your flight number, gate, and status. Not your memory of them, the screen’s version of them.
- Follow the sign for that gate range. Gates are grouped, so you only need the range, not the exact number, to start walking the right direction.
- Ask a staff member if you are still unsure after that.
Never rely only on what you remember from last time. Gates move, routes close for construction, and a terminal you crossed in ten minutes last year may have a different walking route this year. The screen is always more current than your memory.
Who to Ask for Help
Ask, in this order of usefulness:
- Airline staff at the gate or at the check in desk, if your question is about your specific flight
- Airport information desks, usually marked with a lowercase “i”, for anything about the building
- Gate agents at any gate, who can read your pass and point you the right way
- Security staff, for anything about the checkpoint
- Airport volunteers or ambassadors, common at large US and Asian airports and often the friendliest option
Show your boarding pass when you ask. It has your flight number, gate, terminal, and time on it, so staff can answer in seconds instead of interviewing you. Asking early is the single cheapest travel insurance there is.
How to Use Airport Maps
Airport maps show terminals, gate numbers, security lanes, passport control, toilets, food, lounges, and baggage claim, plus how the buildings connect. The two things I look for are walking routes and walking times, because those are what actually determine whether I can get coffee.
Use the airport’s official app or website where possible. It reflects construction, closures, and shuttle timetables in a way that a printed map or a third-party app does not. If you are changing at an unfamiliar airport terminal, spend two minutes on that map before you fly. Knowing that your gate is a train ride away is much better news on the ground than at the gate.
Airport Navigation Tips for Nervous or First-Time Flyers
If your first flight is coming up, or your solo trip is the first time nobody else is holding the tickets, here is what actually helps. Not the generic advice, the things that changed my own flying.
- Arrive earlier than you need to . Two hours domestic, three hours international. Time is the only thing that fixes every airport problem.
- Fly with cabin bags only if you can. No bag drop, no baggage claim, no re-check on a connection. It removes about half the steps in this guide.
- Keep documents in one pocket. Not one in a jacket, one in a backpack, one in a suitcase.
- Do the next step first, then rest. Clear security, find your gate, then eat.
- Ask for help early. Staff are far more useful 40 minutes before boarding than 4 minutes before.
- Write down your flight number. On paper, or on your hand. Everything at the airport is findable with it.
- Watch what other people do. In an unfamiliar country, copying the queue in front of you is a legitimate strategy.
For solo travelers there is one extra thing. When you are traveling solo, nobody will notice if you are in the wrong queue. So build in the buffer a travel companion would normally give you, the one who asks “are you sure this is the right way?” Give yourself an extra twenty minutes. The whole day stops being a test.
Air travel is not difficult. It is just a sequence, and the sequence is the same in Vilnius as it is in Los Angeles. A stress free experience comes from knowing the order, not from being an experienced flyer.
Common Airport Mistakes to Avoid
The mistakes I see over and over:
- Going to Arrivals instead of Departures. Easy at airports where they are on separate roads.
- Ignoring a gate change. A gate change ten minutes before boarding is normal. Check the screen one last time before you settle.
- Waiting too far from the gate. The lounge two piers away is lovely until Final Call.
- Packing prohibited items. Water bottles, oversized liquids, and pocket knives are the top three. Check the list and bin them at home, not at the checkpoint.
- Forgetting document checks. Some destinations need visas, onward tickets, or entry forms, and the gate agent will not board you without them.
- Underestimating terminal transfer time. Budget an hour, not ten minutes.
- Trusting boarding pass time as departure time. Read both numbers.
How to Stay Calm When Time Is Tight
When the clock is against you, shrink the problem. Do not think about the flight. Think about the next physical step, and nothing else:
- Check the screen.
- Get to the right terminal.
- Clear security.
- Get to the gate.
That is it. Four steps, in order, one at a time. Tell a staff member you have a tight connection and they will often move you up a queue, especially at security and bag drop, but you have to ask.
Then, when you get home, plan the next trip differently. If a connection needed you to run, it was too short on paper, and the fix is at the booking stage, not the airport.
How to Plan Easier Airport Routes Before You Book
Airport navigation gets much easier when you make a few decisions before you pay, rather than discovering them at the terminal door.
Before you book, look at:
- How long the layover is, and whether it clears the buffer test above
- Whether the transfer needs a terminal change, which the airport’s website will tell you
- Whether it is one ticket or a self-transfer, and therefore whether you must re-check bags
- Whether the connection needs a visa for the transfer country
- Whether cabin-bag-only is realistic, which simplifies connecting flights enormously
- What time of day you land, because an airport transfer at 2am with closed desks is a different trip than one at noon
None of that is about spending more. It is about flight planning that does not create unnecessary stress. Sometimes the cheapest ticket really is the best one. Sometimes the ticket that is twelve euros more has a three-hour layover instead of a one-hour layover, and that is the one I book. Timing is part of price, and if you are flexible on dates, it helps to know the best days to book flights before you commit.
Find flights for this trip
Ready to Navigate Your Next Airport With Confidence?
Once you have done it once, in order, knowing how to navigate the airport stops being a skill and becomes a habit. Screens, check-in, security, gate, board. That is the whole thing.
The part worth planning is the route itself. Kiwi.com ’s Virtual Interlining combines flights from 500 plus airlines into single itineraries that other search engines cannot build, which is how the cheaper, stranger, more useful routes show up. Some of those itineraries include a self-transfer. If a disruption breaks your connection, the Kiwi.com Guarantee covers you with rebooking or a refund. The risky part of a cheap route is not on you alone.
Have a look at the flight deals for your next trip, check the layover before you book, and then walk into the terminal knowing exactly which sign to follow. That is what turns a stressful airport into smooth sailing.